Protect Your Roof: How to Prevent & Remove Dams
Updated February 5, 2024 . AmFam Team
Icicles may give your home a quaint look in winter, but they’re symptomatic of a bigger problem — ice dams. Ice dams can damage your home because they prevent melting snow and ice from draining properly. Ice dams can lead to mold, rot and water leaking into your attic and nearby ceiling. But don’t panic just yet. We’ve highlighted how to prevent and remove ice dams and ways to mitigate damage to your home from ice dams.
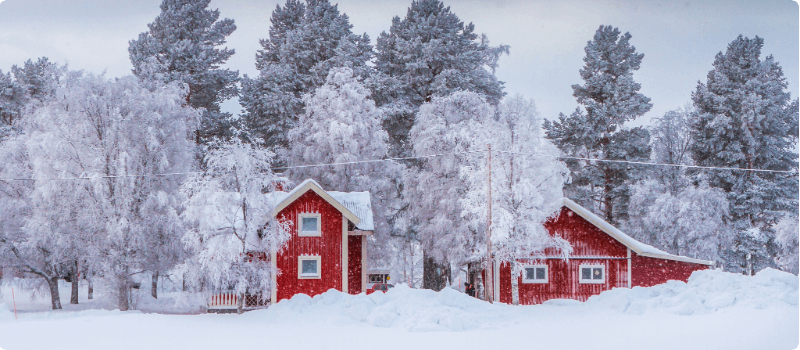
What is an ice dam?
What causes ice dams? Ice dams form when attic air becomes warm enough to heat the underside of the roof, which in turn causes the snow on top of the roof to thaw. The melting snow runs down the roof until it hits an eave or roof edge that is below the freezing point. The melted snow refreezes and creates a ridge of ice — an ice dam — which blocks further runoff. As snow continues to melt, it has nowhere to go but up, where it starts seeping under the shingles and into the house.
Ice dams typically form near the edge of the roof when water runs off the warmed roof and then freezes again at the eaves, but this isn’t the only place you’ll find them. They can also form on gutters that don’t drain completely and around skylights because of the less-insulated design.
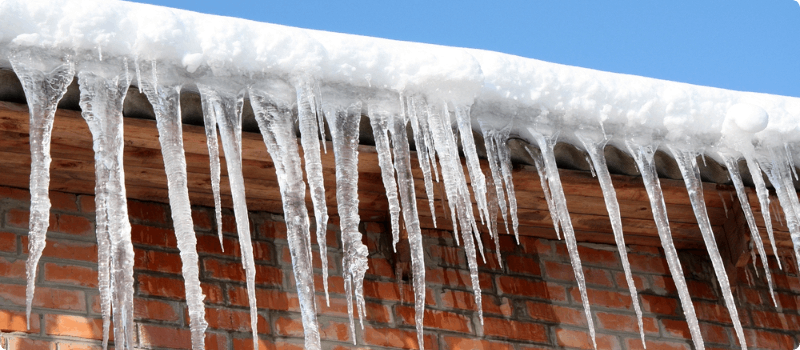
Why are ice dams bad?
Ice dams can cause big problems for your home. The weight of these heavy icicles has been known to rip gutters from roofs and cause damage to the shingles on your home. But the damage doesn’t stop there. Damaged drywall and plaster, water-stained ceilings and peeling paint are also the result of ice dam damage.
Ice dams increase the chance of water seeping into your attic and soaking your insulation. This significantly brings down its R-value or its heat-retaining/insulating capacity — and worse yet — it can cause structural damage if left unchecked. Over the years, the effects of ice dams can lead to blistering of the interior and exterior paint. It can also spur the growth of mold and mildew, as well as weaken structural beams and rafters. Take into account the high-cost contractors will likely charge to fix the problem and you’ll begin to understand why it’s wise to take a proactive approach to managing ice dams.
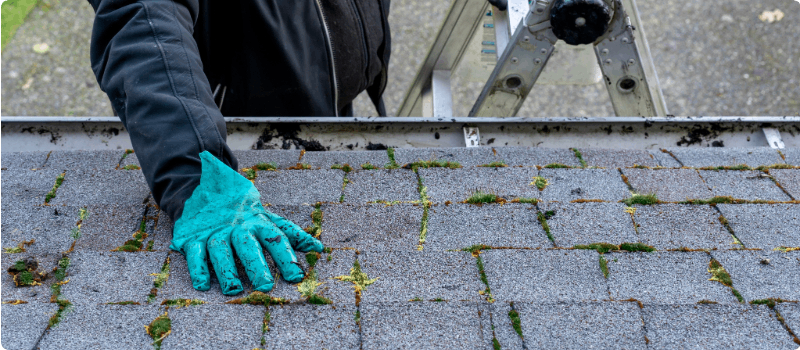
How to Identify Ice Dam Damage to Your Home
If you suspect that your home has an ice dam, it’s important to first detect signs of ice dam leaks and assess the extent of the damage. It may be necessary to bring in a contractor for an estimate in order to have a solid understanding of how extensive the damage is. In the meantime, here are some DIY ideas to try out:
Snap some photos
From the exterior of your home, take a few photos that you can use as a reference to look for signs of water damage on the interior. Look for stains on your ceilings and walls near the position of the ice dam.
Check your attic
Get into the attic and look for water dripping or staining on the rafters and roofing underlayment. It can be helpful to flag these areas so that you’ll be able to locate them later.
Inspect your chimney
See if you can find evidence of ice forming around the base of the chimney, where it meets your roof. If the flashing has come loose or isn’t sealed well, this can be another place where ice and meltwater can do some damage. From inside the attic, review the way heat escapes from around the perimeter of your chimney. If you can see daylight through that seal, take action to seal it up as soon as possible.
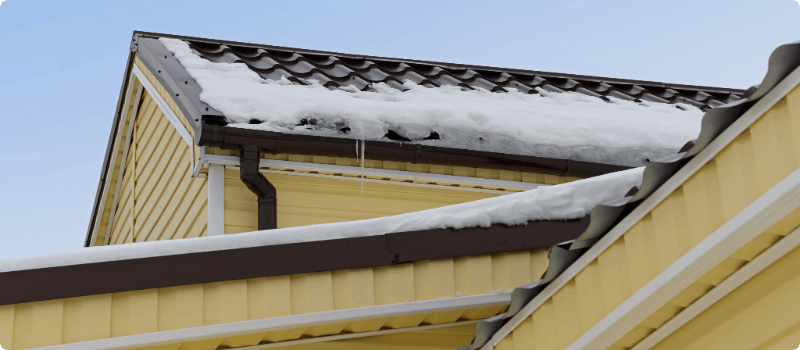
How to Prevent Ice Dams
The basic principle of preventing ice damns is keeping your roof cold. If your roof is cold, snow won’t melt as fast and an ice ridge will be less likely to form. Keeping your roof cold isn’t always as easy as it sounds, so we’ve got ice dam prevention tips for you.
Ice dams are usually created when the attic is warmer than the air outside. Ideally, the insulation keeps warm air in your home and out of your attic. The venting system in your attic helps keep it cool and hopefully close to the temperature outside. Together, this clever combination keeps snow on the roof from melting — and if the snow doesn’t melt, then ice dams shouldn’t form.
The key to preventing ice dams on roofs and in roof valleys involves increasing ventilation in your attic, adding insulation and sealing air leaks. This is not a quick fix but a permanent correction, so it requires some effort and, most likely, professional assistance. However, the long-run benefits include a roof free of ice dams and a more energy-efficient home. We’d call that a win-win.
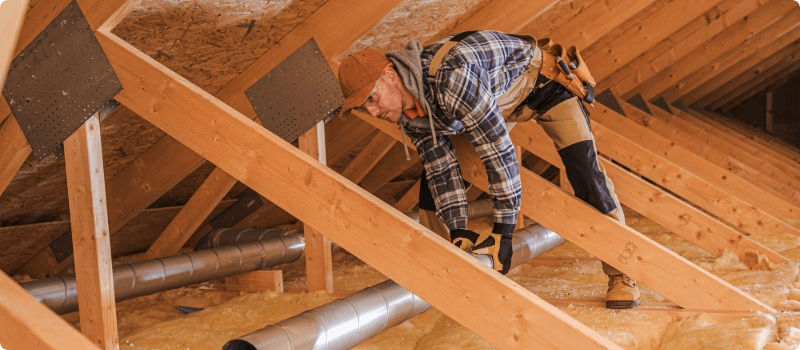
Follow these 10 steps to avoid ice dams:
1. Increase ventilation. Keeping cold air moving under the roof is the first step toward preventing ice dams. The ridge and soffit vents are designed to do this, but they might require a professional inspection and baffles to improve the flow and provide a clear path for the air.
2. Cap the attic hatch. If you have an unsealed attic hatch, a weather-stripping cap will keep the heat in your home and prevent it from creeping into the attic. Remember, you don’t want warm air coming up into the attic and melting snow on the roof, causing freezing and ice dams.
3. Examine exhaust systems. Most homes have exhaust ducts in the bathrooms, kitchen and laundry room. These vents should all lead outdoors through the roof or walls. If they’re vented to the soffit, you’ll need to have that changed for permanent ice dam remediation.
4. Check the insulation. Check to see if your attic floor needs more insulation. Maintaining this protective barrier at optimum depth helps your home stay warmer and more energy efficient while keeping the cool air in the attic.

5. Install chimney flashing. Do you have flashing, a metal strip that prevents water penetration, between your chimney and the house? If not, it’s time to add it and seal any gaps where ice, water and cold wind can sneak in. Remember, you’re working around the chimney, so using fire-safe products is essential.
6. Caulk leaks. Anywhere electrical cables, vent pipes, satellite dishes and other penetrations occur in the roof, you stand the risk of having gaps and air leaks. Caulk these areas with a fire-stop sealant to keep them as air-tight as possible.
7. Check the ducts. Make sure all ductwork through the attic is properly sealed and insulated. If you have an older home, it pays to check your heating ducts to make sure they’re not bringing excess heat into the attic.
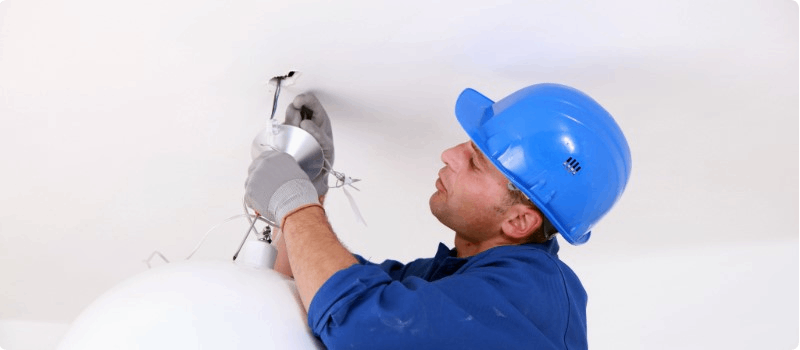
8. Look at the lights. If you have can lights or other light fixtures in your ceiling that are not sealed, you’re releasing heat into the attic. You might also be putting your home at risk for a fire. For increased safety, change these lights to an IC-rated fixture, which allows for direct contact with insulation and insulate over the lights.
9. Add an ice-and-water barrier. If you’re reroofing, it’s time to add an ice-and-water barrier. This is a great layer of protection. While many regions now require it, it wasn’t always mandated, so your home may not have one. An ice-and-water barrier needs to be added under a roof, so it’s cost-prohibitive if you’re not reroofing — but if you are, it’s the perfect time to add it.
10. Keep your roof in good shape. One of the best answers to prevent ice dams is to maintain your roof well and ensure you have enough insulation to keep warm air from getting through. Installing a metal roof with a steep pitch can minimize your risk of leaks caused by ice dams.
Quick Fixes to Get Rid of Ice Dams
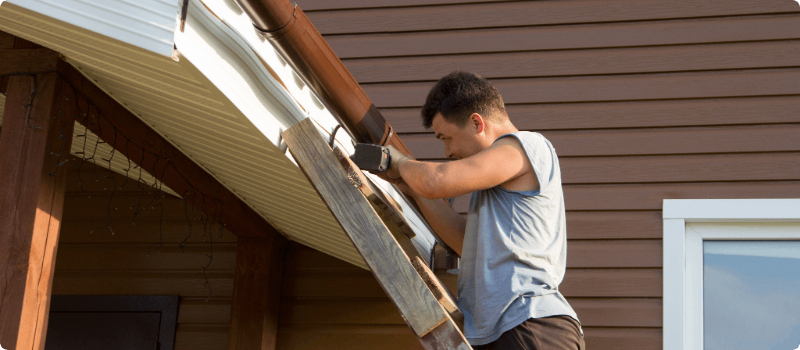
While your goal is to permanently stop ice dams, you might need to use a few quick fixes in the meantime. These tips help you stay on top of ice dams and prevent damage to your home.
Use a snow rake. After a heavy snowfall, give your roof a break by raking the snow off. This inexpensive tool pulls down the snow so it can’t melt and refreeze into an ice dam. Only use a snow rake from the ground or your deck, never from a ladder. And be careful not to break shingles, which can be brittle in bitter cold temperatures.
Try calcium chloride. Avoid using rock salt as it can damage paint and metal on your home. But calcium chloride can help melt ice and get water flowing again.
Install heat cables. Mount heat cables along the edge of your roof and through the downspout. That enables snow to melt and run down the proper channels.
Steam it off. If you have an ice dam already and you can see that there is a leak coming into your home, you’ll want to remedy it as soon as possible. Check with local roofing companies to see if they have a steamer that can melt the ice off the roof without damaging your shingles. If it’s too big a job for just you, hire a roofing professional to steam off ice dams.
Not having to worry about ice dams can be a huge relief in the winter months. You instantly free yourself from the immediate issues of a damaged roof and leaks. In addition, your home becomes more energy efficient and comfortable as the air quality improves if moisture isn’t sneaking in and forming mold and mildew.
Does insurance cover ice dams?
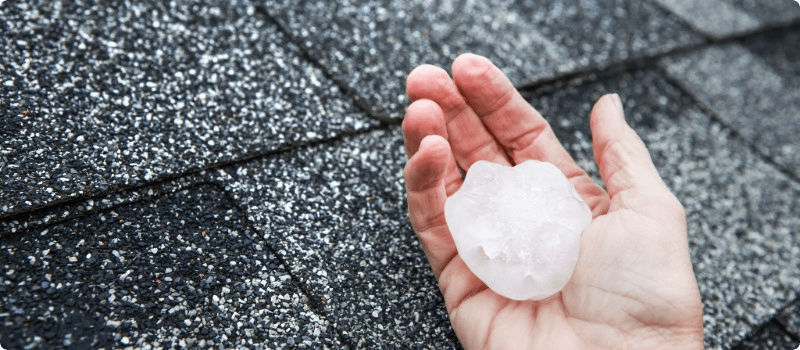
If an ice dam damages your roof, don’t fret. It’s common for homeowners insurance to cover ice dam damage. American Family’s standard homeowner’s policy covers sudden and accidental damage from leaking roofs and damage from the weight of ice, snow or sleet. Check your policy or talk with your agent to review your coverage.
If you have more concerns about your roof insurance coverage or you’d like to learn how your homeowners insurance protects your roof and everything under it, connect with your American Family Insurance agent — they’ve got the answers you need.
This article is for informational purposes only and based on information that is widely available. This information represents only a brief description of coverages, is not part of your policy, and is not a promise or guarantee of coverage. If there is any conflict between this information and your policy, the provisions of the policy will prevail. Insurance policy terms and conditions may apply. Exclusions may apply to policies, endorsements, or riders. Coverage may vary by state and may be subject to change. Some products are not available in every state. Please read your policy and contact your agent for assistance.
Tools & Resources
NextScripts
JSS component is missing React implementation. See the developer console for more information.

